Onboarding
GitHub Codespaces
Section titled “GitHub Codespaces”Note
This module explains how to configure a development environment using GitHub Codespaces. GitHub Codespaces is an online development that you can use for up to 60 hours per month at no cost. However, if you have an development environment set up using Visual Studio Code, PyCharm or any other toolchain, feel free to skip to the next module.
Choosing a development environment for a workshop such as this can be difficult as everyone has their preferences. And it’s impossible to please all of the people all of the time. However, I believe that Visual Studio Code offers a unique advantage in that the base application, the installer you download from https://code.visualstudio.com, is unopinionated. Out of the box, it is so unopinionated, that it’s really boring. This is good because the Visual Studio Code Marketplace offers tens of thousands of extensions (Koi Security in 2024 put the number at around 60,000) that allow you to transform the editor to fit into almost any workflow you have.
The only potential complication is installation. Visual Studio Code is open source, free to use and cross-platform, running equally well on Windows, macOS and Linux. And while this is not a complaint, the cross-platform nature does introduce extra complexity when discussing installation and setup. Then there are those with security restrictions on their machines and network to further get in the way of the process of writing that first line of Python code.
The solution I have selected for this working is called GitHub Codespaces. Visual Studio Code is not a .NET or C++ application. Instead, it is written in TypeScript and runs on the Electron application shell. Thus, Visual Studio Code uses many of the same web technologies on the desktop that a web application would use in a browser. And that’s what GitHub Codespaces is, Visual Studio Code running in the browser. No downloads, no installations, just go to the GitHub Codespaces home page (we’ll do that in a minute) and start developing your Python application.
Actually, Visual Studio Code running in the browser is half of the solution. The rest is a small Linux compute instance that allows you to not only develop applications, but run them, along with assets and utilities, in the browser as well. You can run unit tests, spin up Docker containers, connect to databases and manage Azure resources all from a GitHub Codespace.
It gets better, you can use GitHub Codespaces, for free! With a personal GitHub account (which is also free) you can use GitHub Codespaces for up to 60 hours per month. You don’t even have to provide a payment method. In addition you get access to the other great features of GitHub including source control, LLM hosting, GitHub Action, GitHub Pages and more.
Note
If you are using a GitHub account that is managed by your employer or another organization, you may experience difficulty accessing the resources described in this module and the rest of the workshop because your organization may restrict those resources. Therefore, if you do not have a free, personal GitHub account, I strongly recommend creating one before proceeded. Again, they are free!
Configuring a GitHub Codespace for Python Development
Section titled “Configuring a GitHub Codespace for Python Development”Let’s create a GitHub Codespace!
After you are logged into your GitHub account, go to https://github.com/codespaces.
As one component of a GitHub Codespace is Visual Studio Code running in the browser, you can also
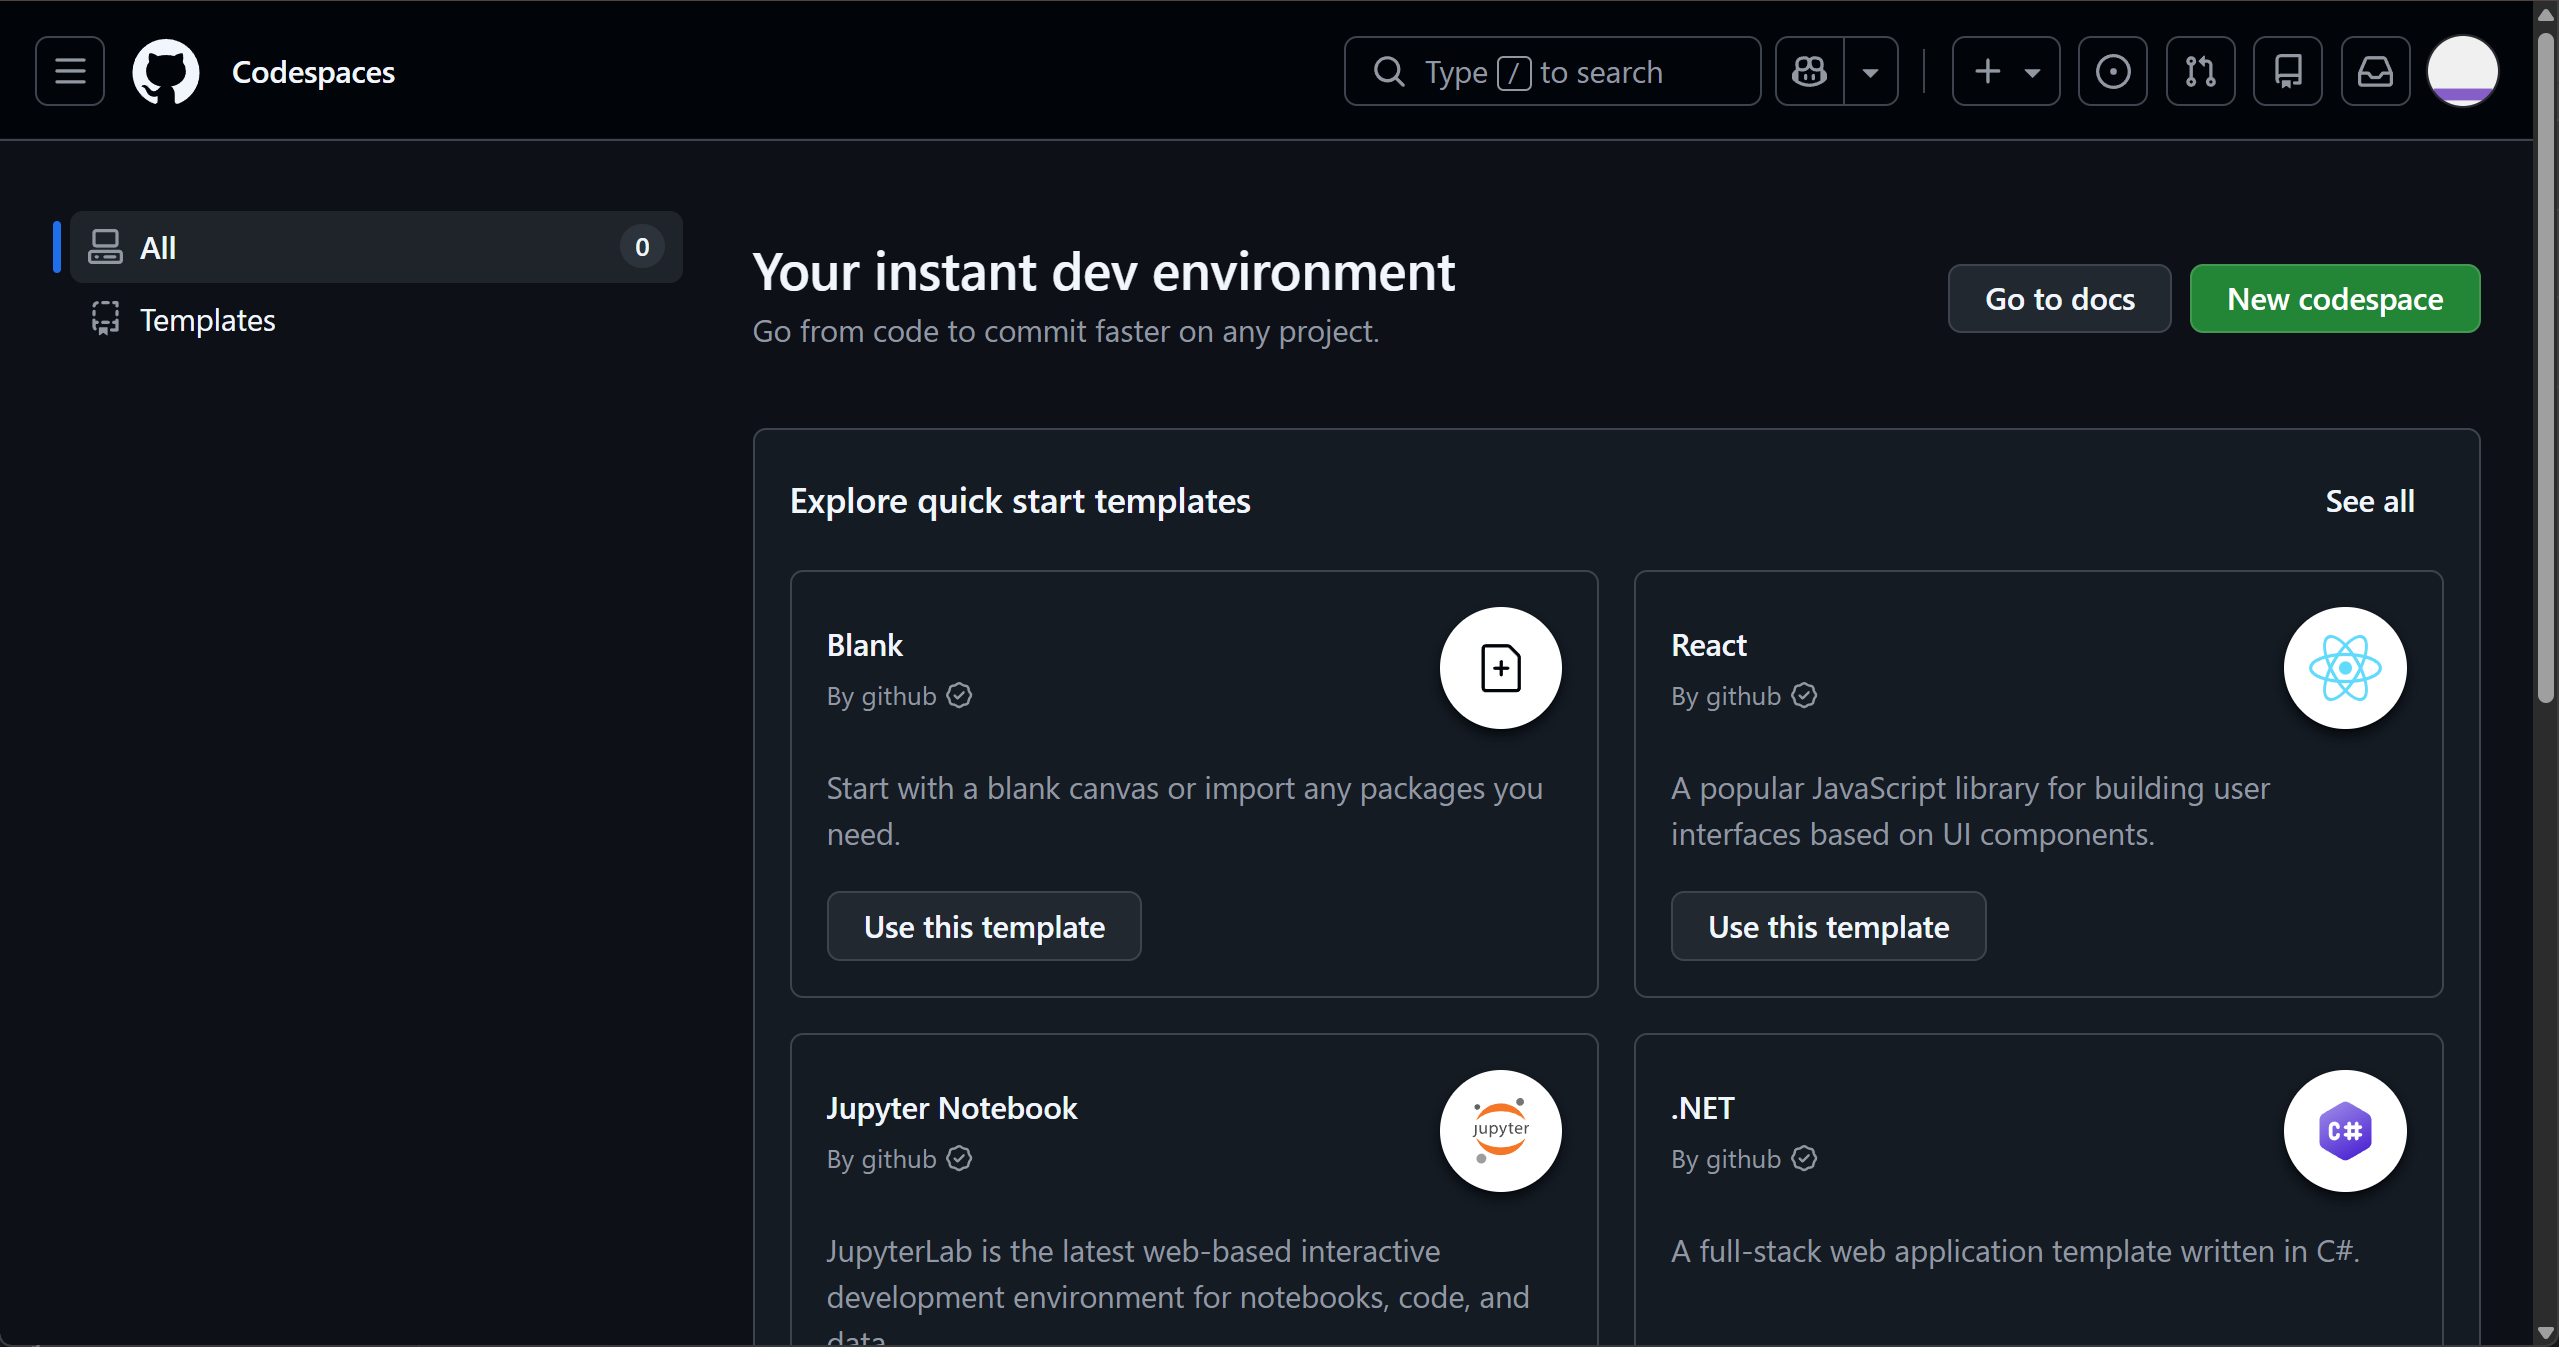
Here you can see there are a number of templates that are preconfigured for different application workflows such as React or .NET. For this workshop, we will start from scratch and click on the “Use this template” button under the Blank template.
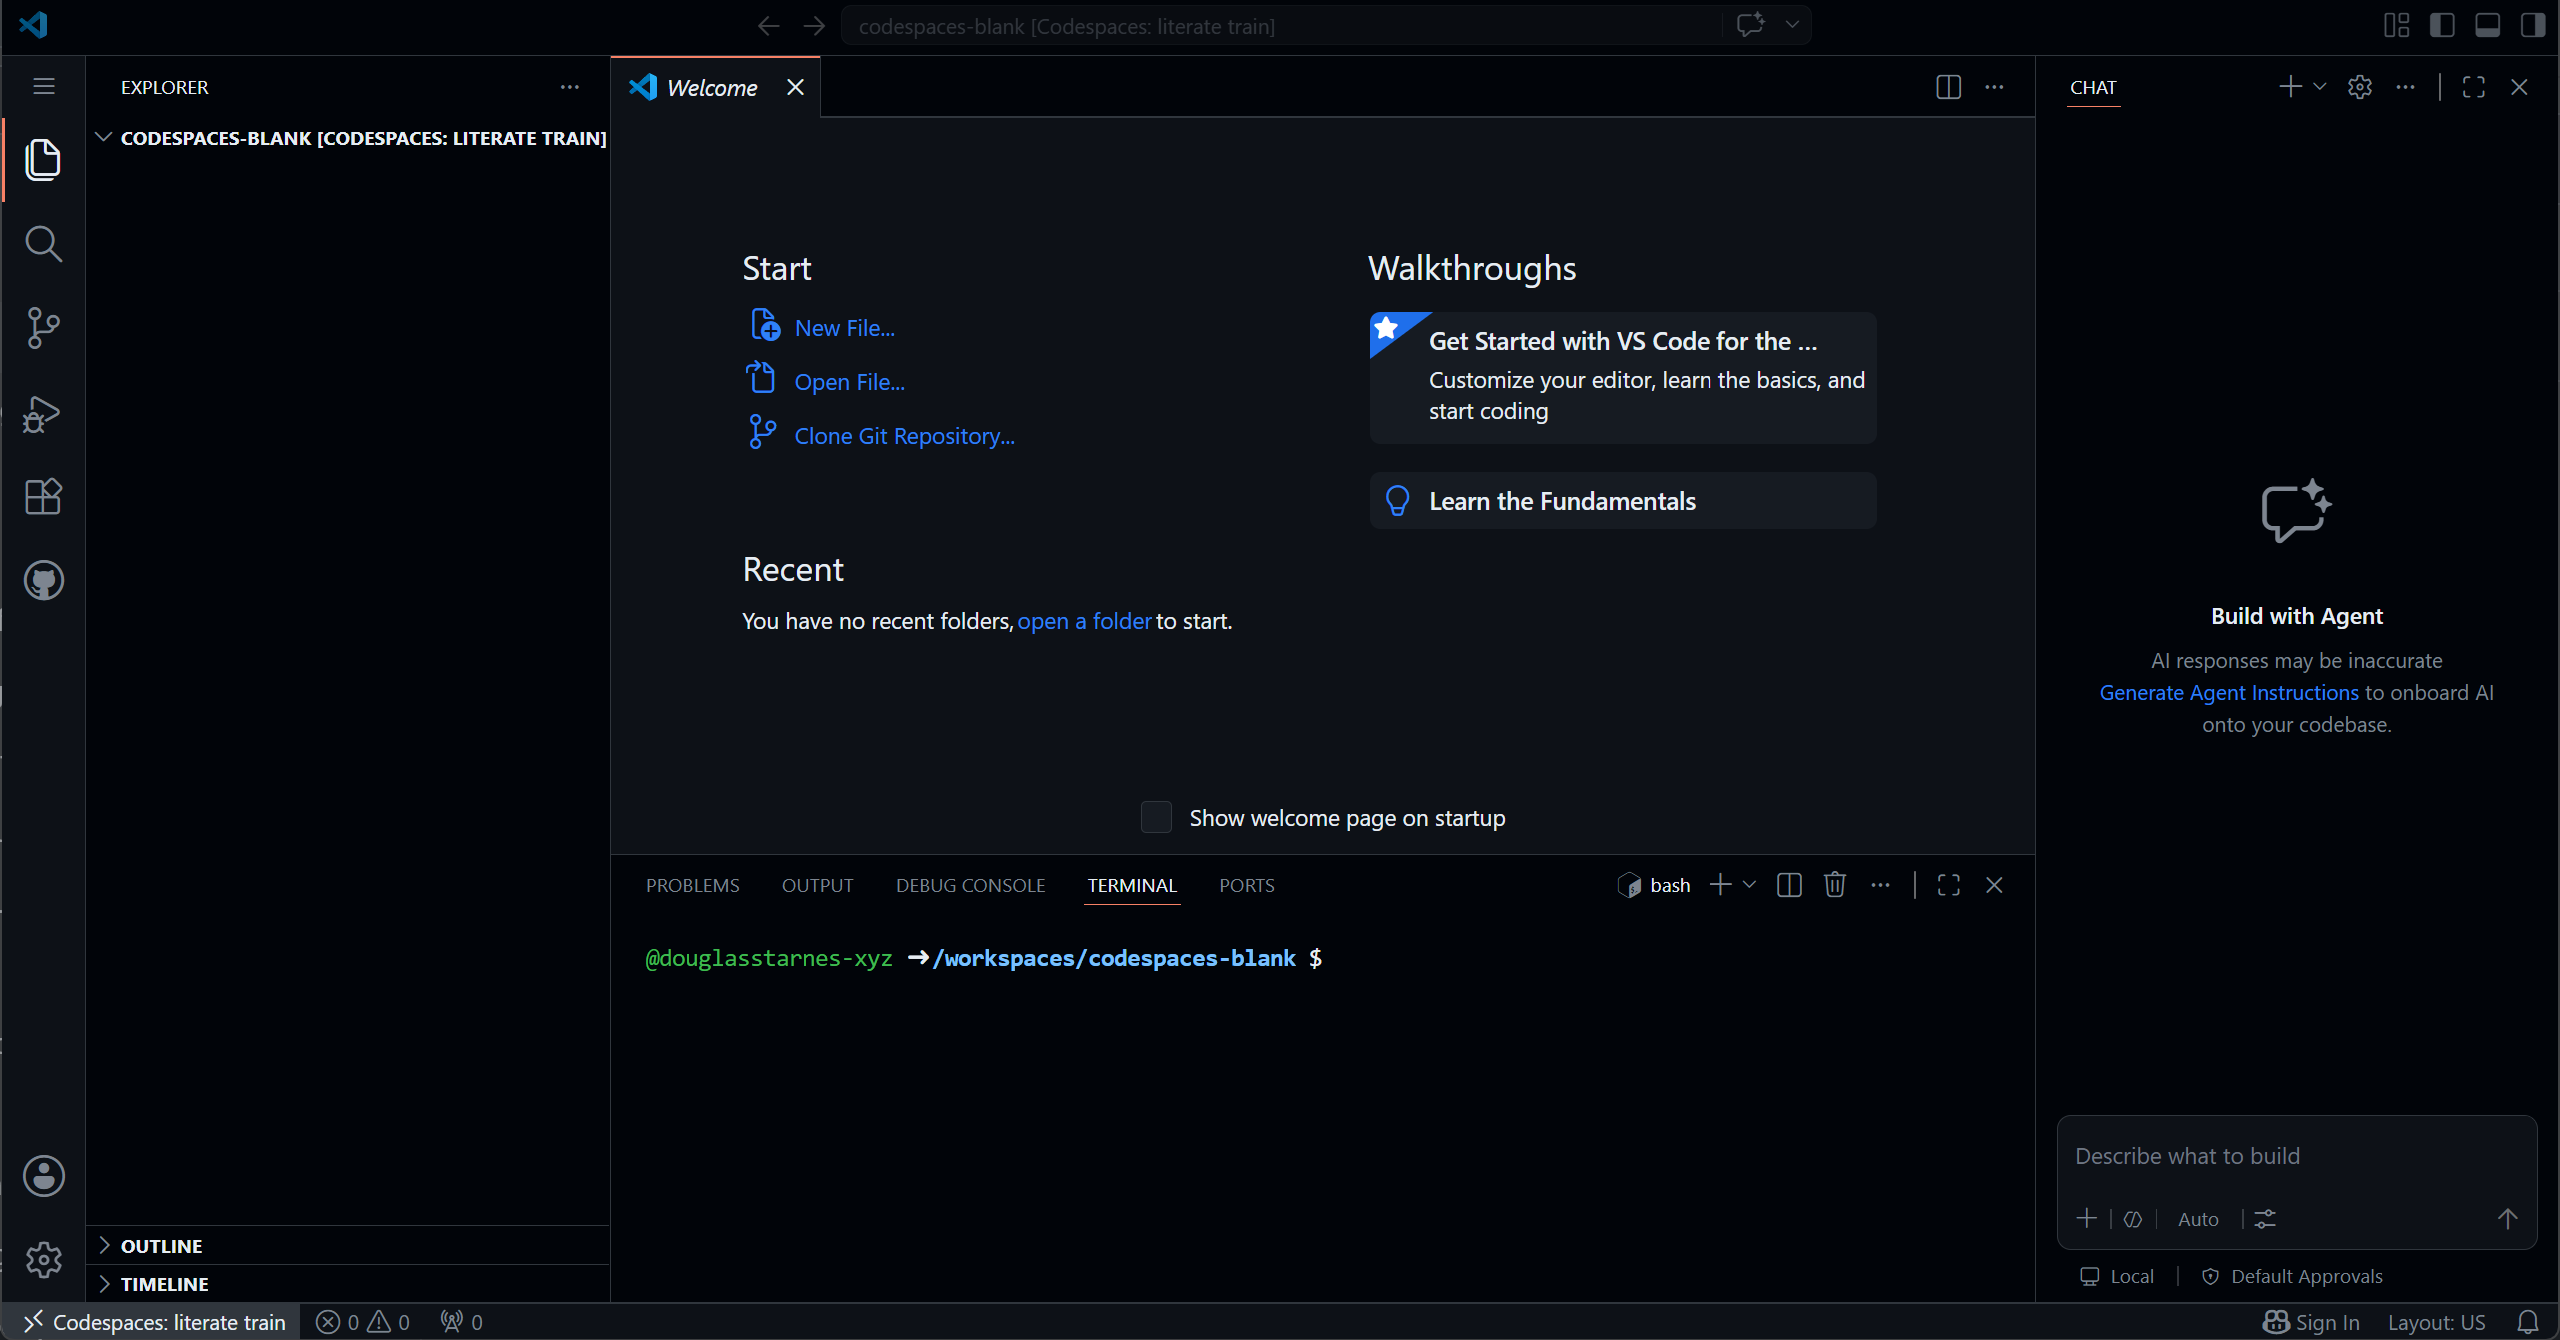
This will provision a new GitHub Codespace and open it in a new browser tab. This process generally takes less than a minute. When you see this prompt in the Terminal pane at the bottom of the screen, the GitHub Codespace is ready to use.
Another advantage of a GitHub Codespace using Visual Studio Code in the browser is that you can use many of the same extensions, settings and keyboard shortcuts that you would use on the desktop version. You can install extensions from inside of the GitHub Codespace. Let’s install several extension for Python development that we will use throughout the workshop.
On the left-hand side of the window, in the sidebar, click on the Extensions icon.

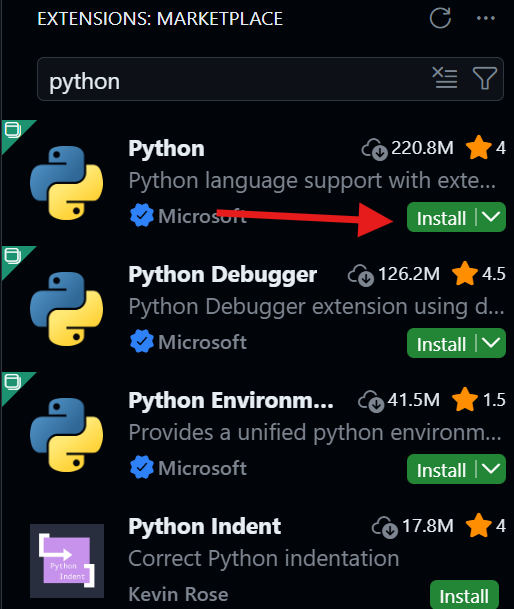
This will open the Extension pane. In the search box at the top of the pane, search for Python. The first result should be the official Microsoft Python extension. Click on the green Install button to install the extension.
Note
The Python community has embraced Visual Studio Code. If filter the extensions by popularity, you will see that 4 of the top 5 extensions are Python related. The official Microsoft Python extension has over 220 million downloads as of May 2024. That’s more that the C++, Java and C# extensions combined!
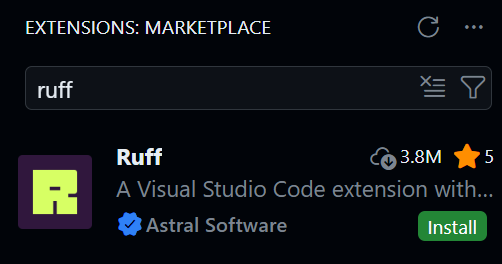
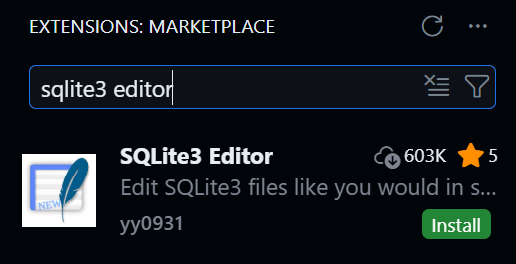
Repeat the install process for the following extensions: (Click the Trust Publisher & Install button if prompted)
- Ruff for linting and formatting Python code
- SQLite3 Editor for exploring and managing SQLite databases
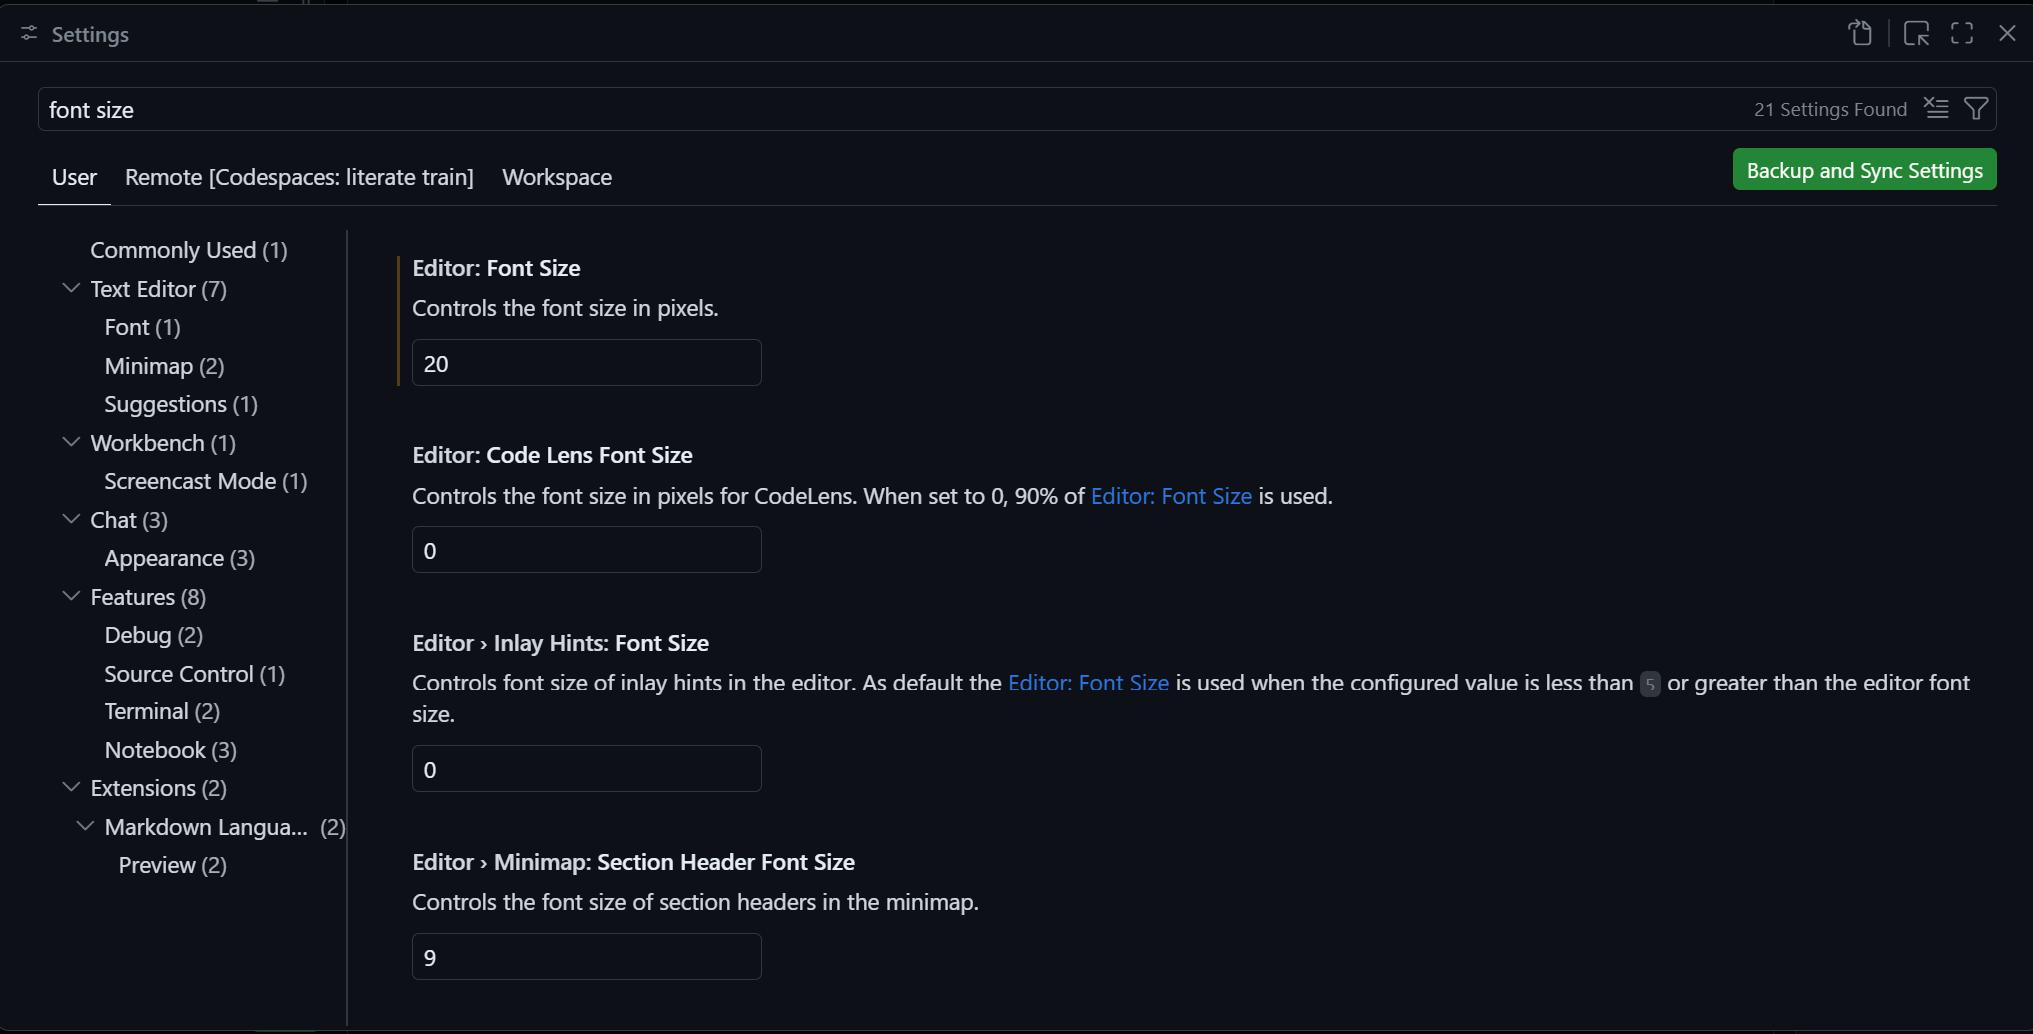
A few more steps are needed to finish the setup. Press Ctrl + , (Command + , on macOS) to open the Settings pane. At the top of the pane, search for font size. For the Editor: Font Size setting, I find the default value of 14 to be small, especially for screenshots. I’ll set mine 20, but you can set it to a different value. I’ll also set the Terminal: Integrated Font Size to the same value.
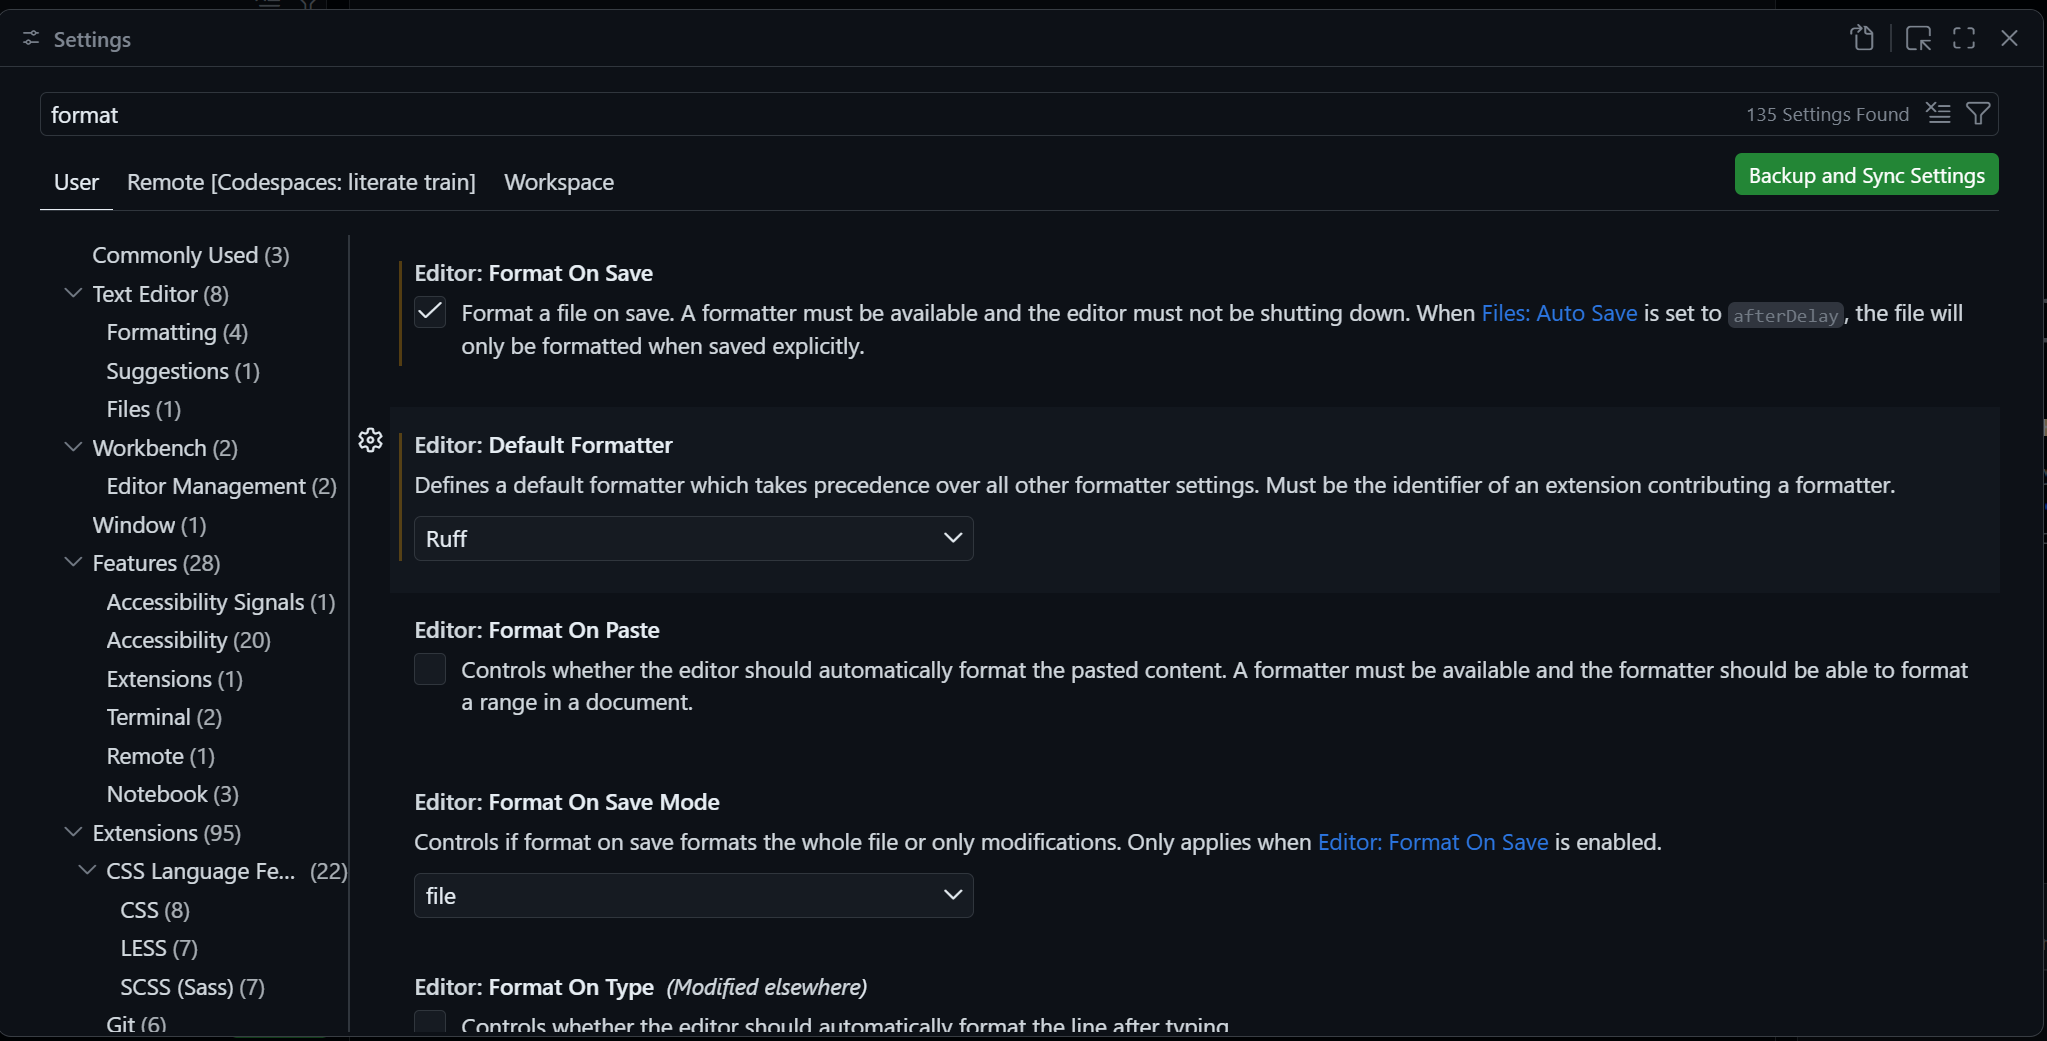
One more setting to change. At the top of the Settings pane, seach for format. Check the box for Editor: Format On Save. In the Editor: Default Formatter setting, select the Ruff extension you just installed. This will ensure that your Python code is automatically formatted using Ruff every time you save a file.
Close the Settings panel and your GitHub Codespace is configured for Python development.
Conserving Your GitHub Codespace Hours
Section titled “Conserving Your GitHub Codespace Hours”Recall that you can use GitHub Codespace for up to 60 hours per month for free. However, if you leave you GitHub Codespace running, it will consume your hours. There are however, a couple of steps you can take to conserve your hours.
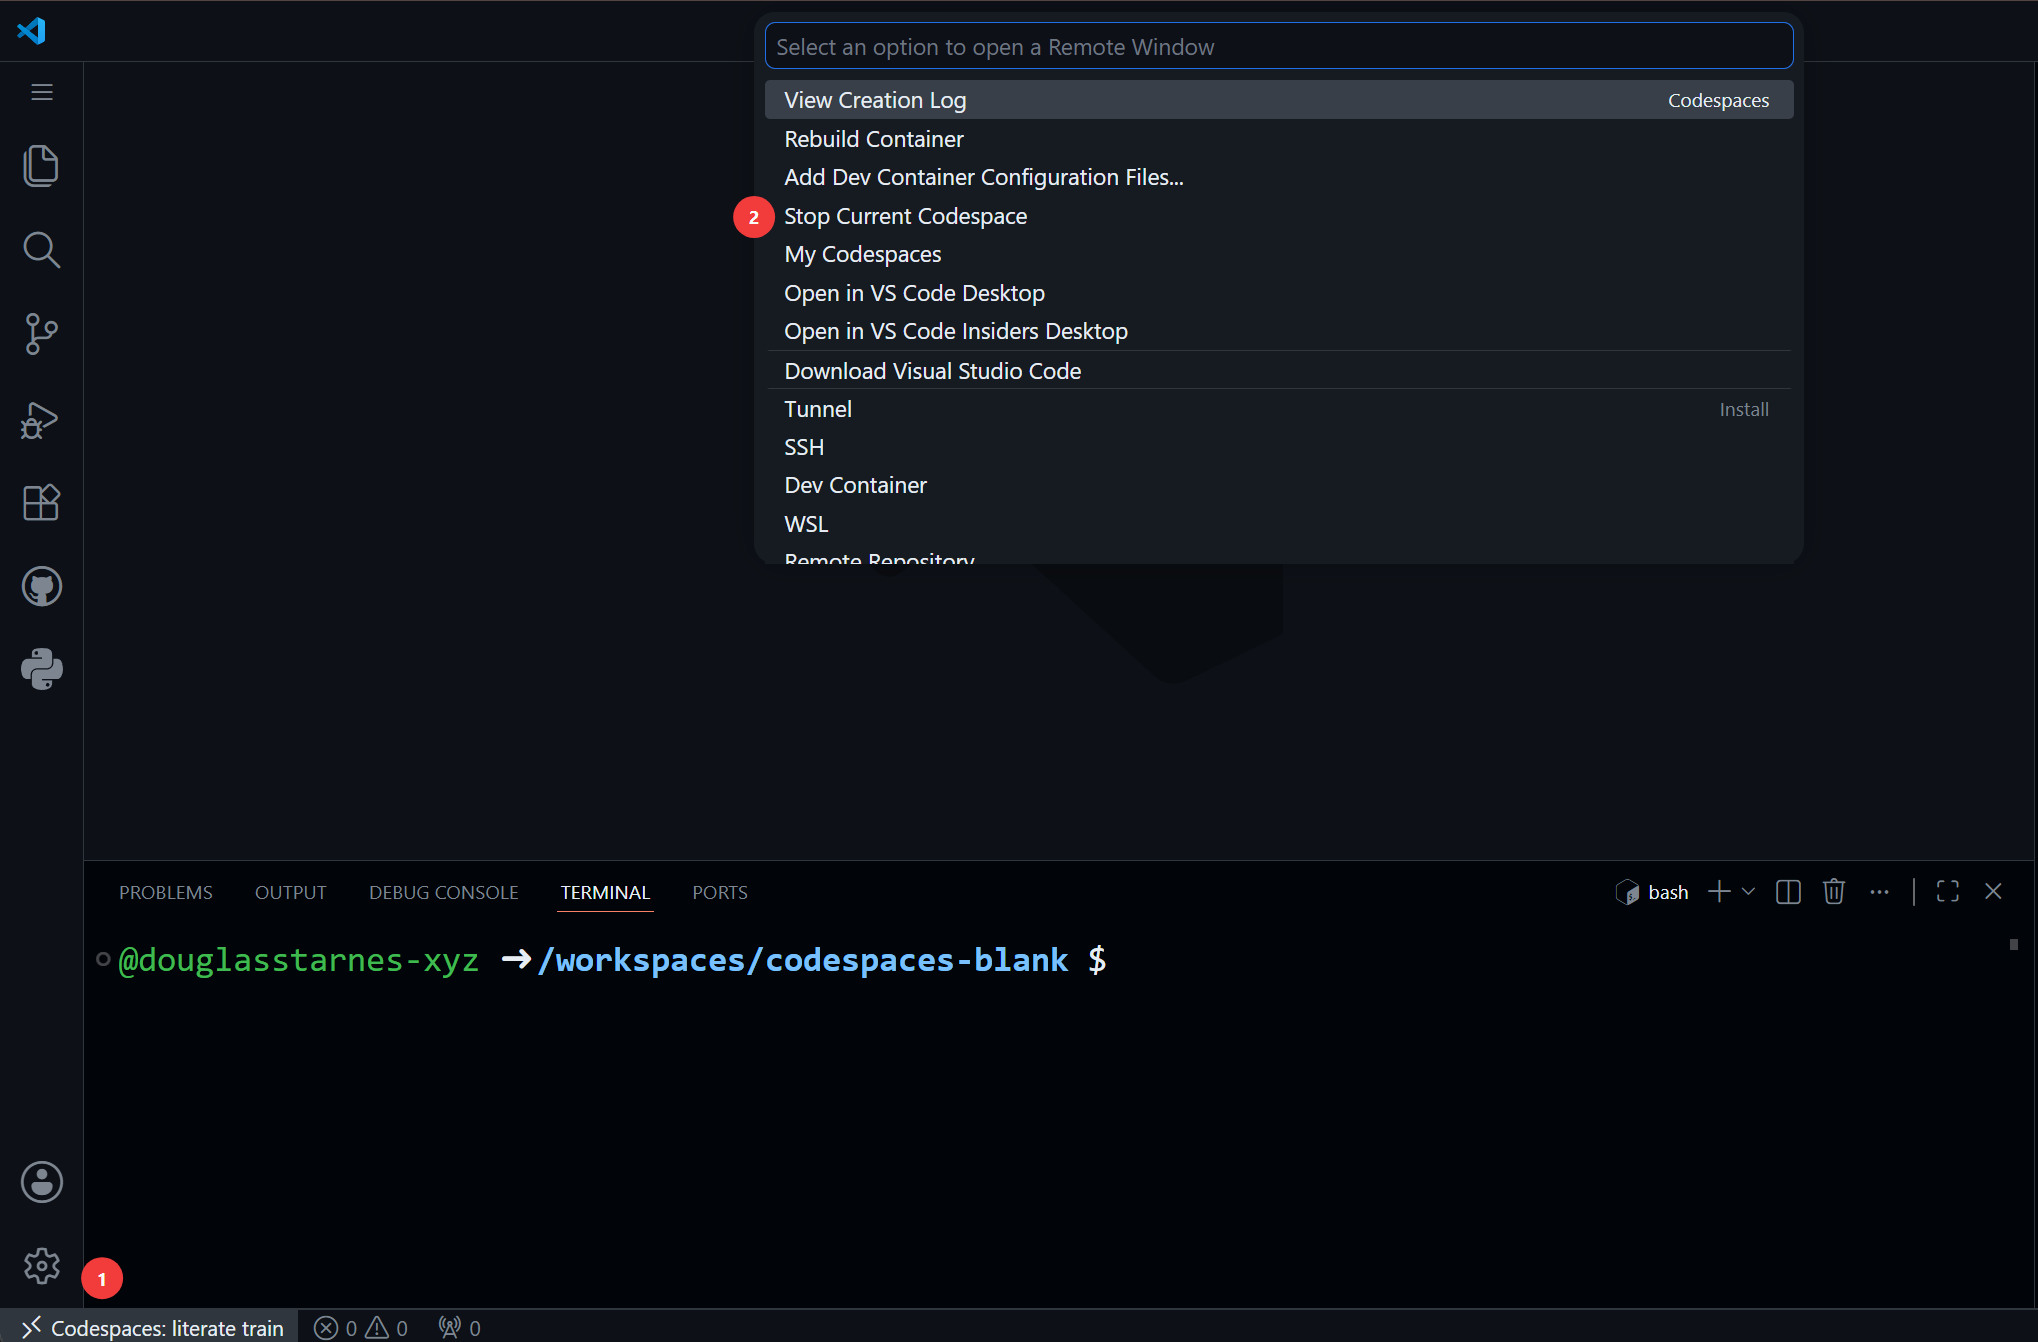
First, you can explicitly stop your GitHub Codespace when you are not using it. To do this, click the >< Codespaces button in the lower left-hand corner of the window to open the Codespaces pane. (1) This will display the Command Palette at the top on the window. Click on Stop Current Codespace to stop the GitHub Codesapce. (2)
The current state will be saved and you can restart the Codespace later to pick up where you left off from the GitHub Codespaces home page.
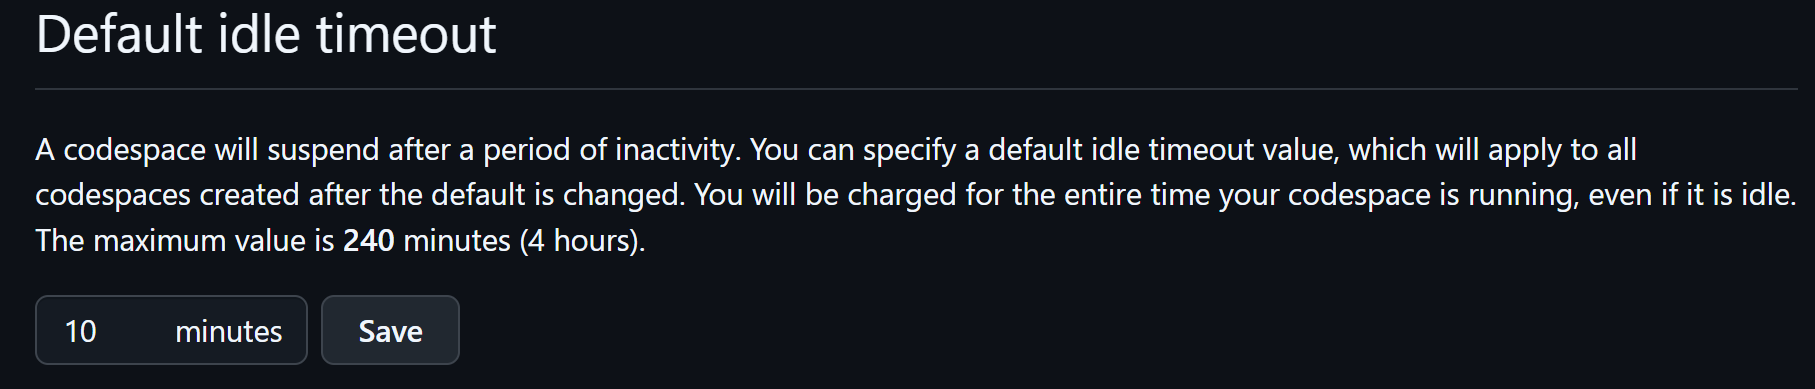
Alternatively, a GitHub Codespace will automatically stop after 30 minutes of inactivity. You can adjust this value in the Codespaces settings. From the GitHub site, click on your profile picture in the upper right-hand corner of the page and select Settings from the dropdown menu. In the left-hand sidebar, scroll down and click on Codespaces. Scroll for to Default idle timeout and provide a value between 5 and 240 minutes (4 hours). I find 5 minutes to be a little limiting, so I leave mine set to 10 minutes.